


Get More Livable Space
What's good about a wet basement? Nothing! A dry basement opens up many possibilities and translates to more livable space in your home. You can use the basement as a movie room, a game room, a gym, a bedroom, or an apartment.

Peace of Mind
We have a lot on our minds, and a leaky basement should not be one of those things. You should be able to check off a leaky basement from your list of troubles during the rainy season. Get interior basement waterproofing services from GJ MacRae, and be assured that your basement is dry and won’t damage all your valuables during the rainy season.

Stronger Foundation Support
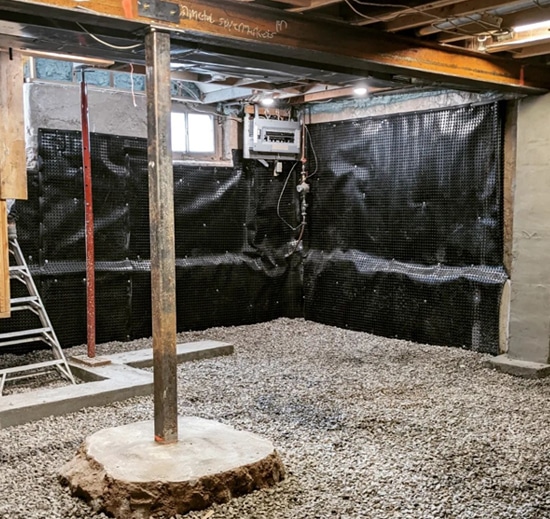
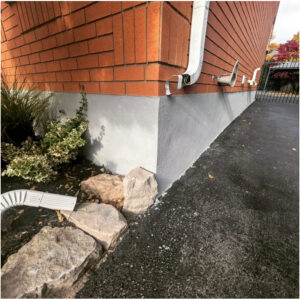
Waterproofing your basement walls ensures your walls are dry and do not have to endure water damage. Also, the hydrostatic pressure is highly reduced with a waterproofing system installed around your basement walls. Any holes or cracks in your basement walls are fixed during basement waterproofing. This promotes a damage-free and strong foundation wall. A stronger foundation means more robust support for your house.

Higher Selling Price
In addition to the previously mentioned benefits, there's one more advantage you can enjoy while residing in your home: the added value when selling it. A dry, usable basement is highly sought after in today's market, and every prospective buyer will value a sturdy basement foundation that offers extra livable space. By investing in basement waterproofing now, you can reap these benefits while you live in the home and also when it comes time to sell.

Get Rid of That Musty Smell
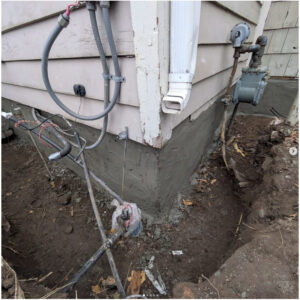
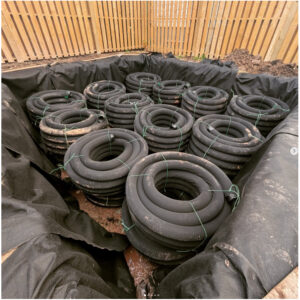
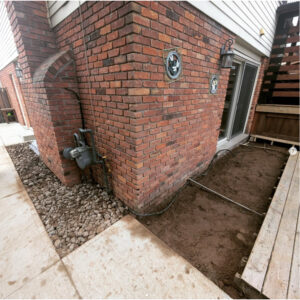
A wet basement only invites trouble. Mould and mildew is a byproduct of basement leaks, but a dry basement means that your walls are mould and mildew free. A consistently damp and musty wet basement not only produces unpleasant odors but also poses significant health risks. Exterior basement waterproofing prevents water from entering through your foundation walls, while interior waterproofing addresses any additional leakage issues if there are external access concerns.